
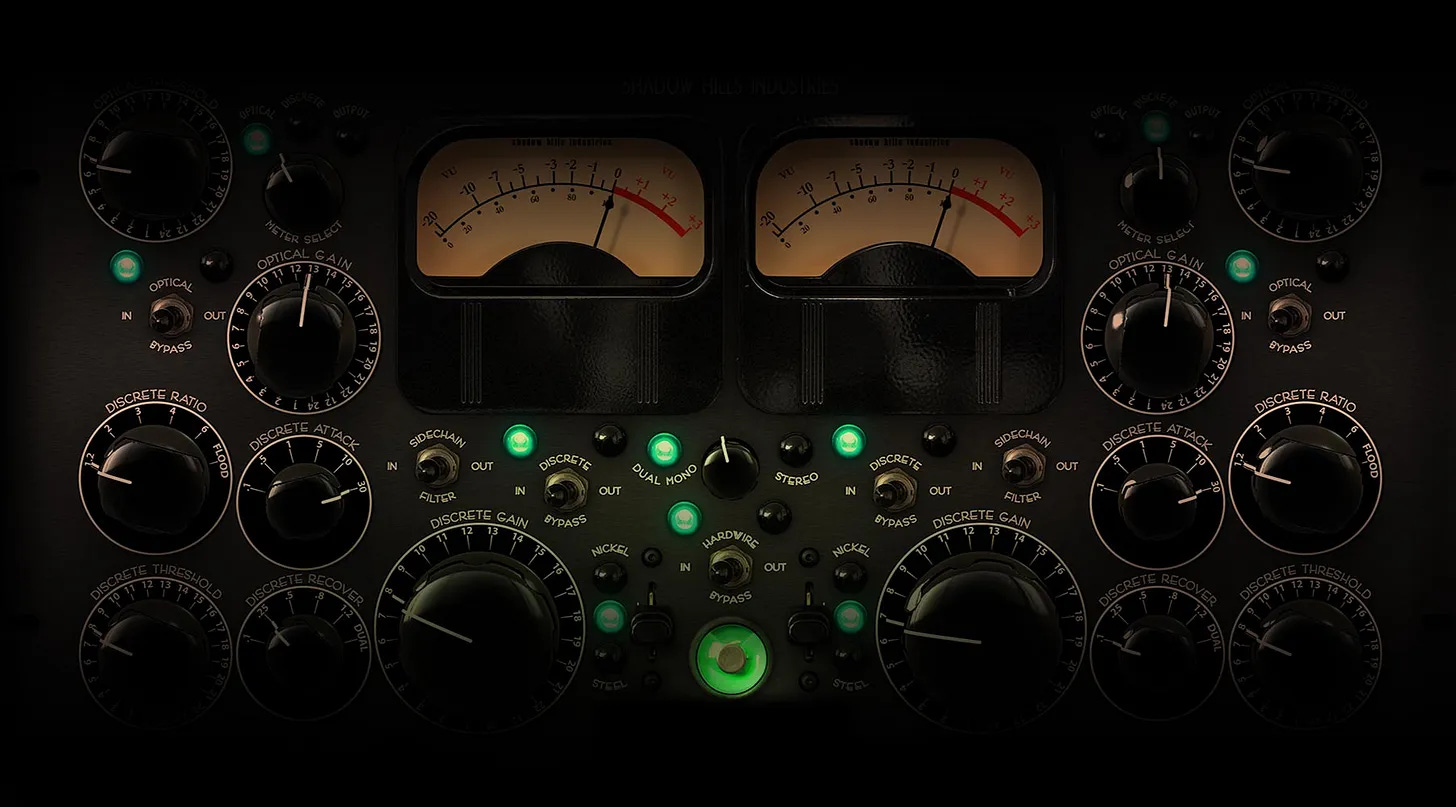
My Go-To Mastering Compressor Settings for electronic music [079] 🎵🎶🎵
This is my mastering compressor approach you’ll hear across modern releases. Steal the settings logic and make your masters translate cleaner, faster.

Your mixes are close - your masters should finish the job.
Stop holding releases back. I’ll get you consistent loudness, clean punch, and reliable translation for streaming services and clubs.
Start Mastering your Tracks
When I first started taking compression seriously, I ran into a problem I did not expect. Most of the time, I could not clearly hear what the compressor was doing.
I understood the theory well enough. Threshold, ratio, attack, release. None of that was new to me. But in practice, the changes felt vague. Sometimes I thought I heard improvement. Other times I was not sure anything had changed at all.
That uncertainty was frustrating, especially once I started working more in mastering some years ago. Mastering does not tolerate guesswork. Small moves matter, and if you cannot hear them, you are working blind.
That frustration eventually pushed me to develop a more deliberate way of setting compressors. What follows is not a universal method. It is simply the process that helped me make compression audible, controlled, and musical again.
What a Compressor Actually Does
At its core, a compressor reduces dynamic range.
When a signal crosses a set threshold, the compressor attenuates it according to the chosen ratio. Loud peaks are reduced. Quieter parts are not affected by the compressor itself.
They only become louder later if you apply makeup gain.
That distinction matters more than it might seem. Compression does not create loudness. It reshapes motion. Loudness is a result of gain staging, not the compression process.
Once I internalized that, my expectations became more realistic, and my decisions improved.
Step 1: Start with an Exaggerated Ratio
When I struggle to hear what a compressor is doing, I deliberately overdo it.
I set the ratio very high, sometimes 10:1 or even 20:1. I do not do this because I want that sound, but because exaggeration reveals behavior. At extreme settings, it becomes obvious how the compressor grabs peaks, reshapes transients, and changes sustain.
Once I understand how the compressor responds to the material, I reduce the ratio to something appropriate.
This approach taught me more about compression than subtle tweaking ever did.
Step 2: Shape the Transients with Attack
Next, I usually adjust the attack.
I start with a very fast attack and then slowly back it off. Exaggeration helps here. When the attack is extremely fast, the compressor flattens the front edge of the sound. Kicks lose definition. Percussion becomes smaller.
As I increase the attack time, there is a point where transients regain their punch without becoming uncontrolled.
In techno or other electronic music genres, I usually end up faster than many general recommendations suggest. As a working range, I often start between 5 and 15 milliseconds on buses or the master.
Below that range, depth tends to collapse.
Above it, the compressor can feel detached from the rhythm.
The goal is not maximum punch. The goal is balance.
If the track loses energy and feels smaller, the attack is too fast.
If the low end feels loose or peaks jump out unpredictably, it is too slow.
Step 3: Dial in the Release
Once the attack feels right, I move to the release.
Release determines how quickly the compressor lets go after reducing gain. This parameter has a strong influence on groove.
In techno, house or similar genres, I often work with noticeably faster releases than in band-based music. The patterns are repetitive, envelopes are tight, and the compressor needs to reset clearly between hits.
As a starting range, I usually explore 50 to 150 milliseconds.
Shorter releases can add density and drive, but if pushed too far they introduce audible pumping.
Longer releases tend to sound smoother, but they can also make the mix feel heavy or sluggish.
I listen for whether the compressor lets go before the next kick arrives.
If the groove feels nervous or starts breathing audibly, the release is too fast.
If the mix feels like it is being held down, the release is too slow.
I do not calculate release times from tempo. I adjust until the compression feels locked to the pattern rather than imposed on it.
Don’t Forget the Sidechain Filter
One detail you might have overlooked for a long time is the sidechain filter high-pass Filter.
If you hear pumping or the entire mix dipping every time the kick hits, the compressor is likely reacting too strongly to low frequencies. Bass energy carries a lot of power and easily dominates the detector circuit.
A sidechain filter high-pass lets you control what the compressor reacts to without altering the audio signal itself.
In mastering, I almost always engage a high-pass filter in the sidechain.
As a starting point:
I usually begin around 80 Hz
For bass-heavy material, I may go up to 120 Hz
I adjust until the low end feels stable but still connected
The goal is for the compressor to respond to the musical balance, not to every bass transient. This step alone often removes pumping without touching the release or ratio.
Step 4: Reduce the Ratio for Mastering
Only after attack, release, and sidechain behavior are dialed in do I lower the ratio again.
For mastering, I usually land between 1.4:1 and 2:1. Occasionally, I go slightly higher, but rarely. At this stage, compression should feel like cohesion rather than an effect.
If I can clearly hear the compressor working, it is usually doing too much.
Using Parallel Compression as a Reference
When a compressor offers a dry/wet control, I use it as a reference tool.
Blending compressed and uncompressed signal helps me judge whether I am adding density or taking away life.
Parallel compression is less about fixing problems and more about perspective.
Gain Reduction and Loudness
I always watch gain reduction, but I trust my ears more.
As a starting point, I roughly match makeup gain to the amount of gain reduction. If the compressor reduces the signal by 2 dB, I add about 2 dB of output gain. This keeps loudness from misleading me.
In mastering, I rarely exceed -1 dB to -3 dB of gain reduction. Beyond that, depth and long-term listenability usually suffer.
Auto-gain features can help, but I never rely on them blindly. They calculate. I listen.
A Final Thought on Loudness
One of the most important lessons I learned is that more compression often feels impressive at first and exhausting later.
When I use slower attack times and lighter ratios, the mix tends to feel bigger, not smaller. Instruments breathe. Transients speak. Loudness comes from clarity, not pressure.
Using less compression has consistently delivered more impact.
If compression still feels elusive, exaggerate first, listen carefully, and then pull back. Every compressor behaves differently, and every track demands its own response.
This is simply the process that helped me hear compression clearly again.
I hope this helps
Best regards,
Marcus
Your Mixing Mastering Engineer for Electronic Music
Really great article man. More people should read this as compression is a vastly misunderstood and misused tool in music productions. 👏
Excellent article! I like the side chain high pass tactic and will experiment a bit.
Low end is such a crucial factor in producing power and/or warm subtleties to a song and this knowledge provides solid info to help achieve that goal.