This Simple Mistake Is Ruining All Your Mixes 🎵🎶🎵 [060]
Acoustic treating: Your Room Is Killing Your Sound and how to fix it
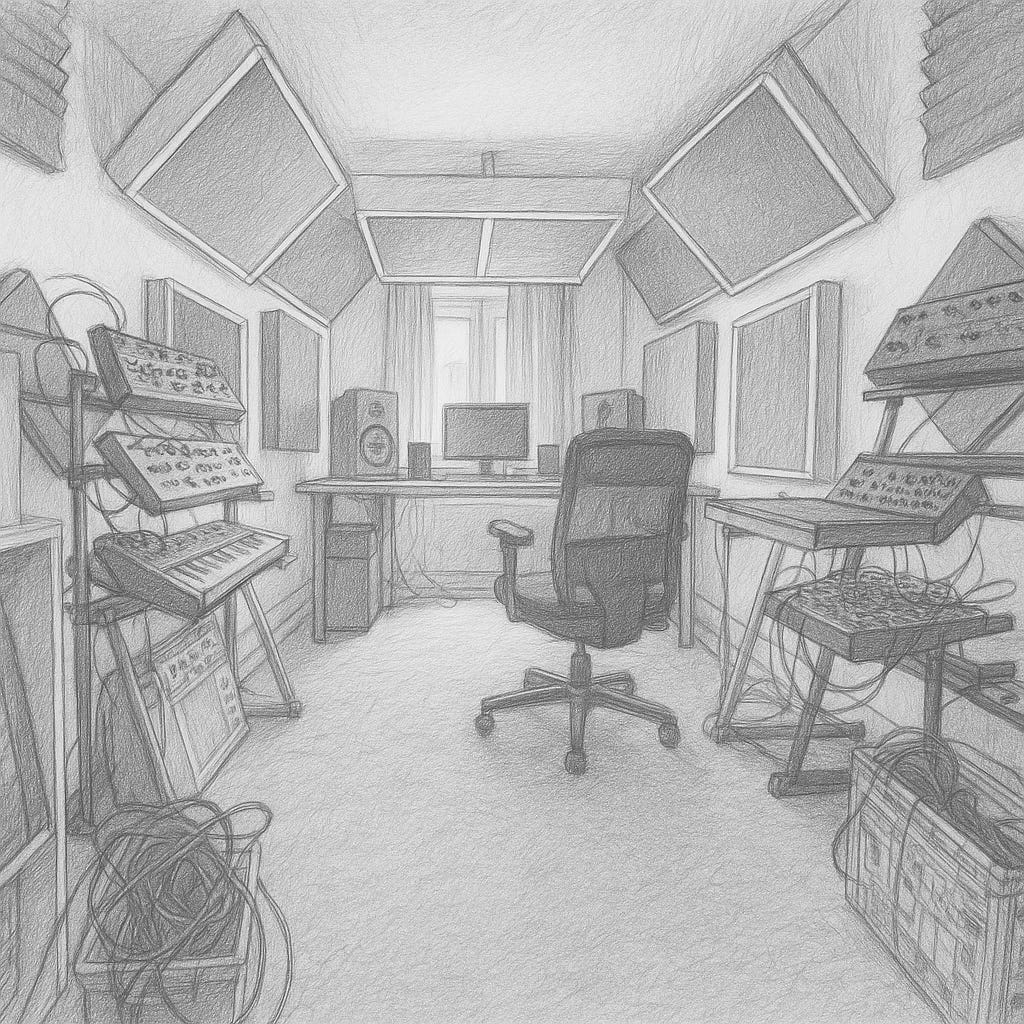
Optimising monitor placement and room acoustics is one of the most impactful ways to improve your sound, and it’s often overlooked in home studio setups. I’ve seen it time and time again: even the best speakers and plugins can’t compensate for a poorly calibrated listening environment.
I’ve had to learn this the hard way myself. In the early days of my work, I underestimated how much the room shapes what we hear. But over time, and through countless mixes in different rooms, I’ve come to understand just how essential it is to align the technical setup with the acoustical reality of the space. Even subtle changes in monitor positioning can unlock a whole new level of clarity and balance.
While my core focus is on mixing and mastering, practical acoustics has become an inseparable part of my process. The insights I’ve gathered are grounded in both acoustic theory and real-world problem-solving, which is especially valuable when dealing with the compromises of a home studio.
Common Pitfalls and Why They Matter
A frequent issue I encounter in home studios is a mismatch in acoustic treatment. Often, thin foam panels are used, which tend to absorb high frequencies quite effectively but do little for low-end energy.
This can lead to a room sounding overly dead or dull in the highs, while bass frequencies still build up and resonate, creating an unbalanced listening environment.
Mixes made in such rooms often don't translate well elsewhere – they might sound bass-heavy or lack clarity when played on other systems. The goal is balanced control across the frequency spectrum using broadband absorption and targeted bass trapping.
1. Strategic Monitor Positioning
Before even touching acoustic treatment, let's ensure your monitors are set up correctly:
The Equilateral Triangle: Imagine a triangle where your head is one point, and each speaker is another. All three sides should ideally be equal in length. This creates the "sweet spot" where you receive the most accurate stereo image.
Solution: Turn both monitors in slightly so that they are aligned at about 30° to each other in the sweet spot.
Tweeter Height: Position your monitors so the tweeters (the smaller drivers responsible for high frequencies) are exactly at your ear level when you're seated in your normal listening position. This ensures the most direct path for critical high-frequency information. If they're too high or low, tilting them slightly using stands or pads can help direct the sound accurately towards your ears.
Decoupling: Placing monitors directly on your desk can transfer vibrations, potentially muddying the sound and causing the desk itself to resonate.
The use of dedicated monitor stands, or at least dense isolation pads (such as foam pads designed for speakers) underneath them, is highly recommended. This will minimise structural vibration and allow the speaker to perform as intended.
2. The Critical Speaker-Wall Relationship
The distance between your monitors and the wall behind them significantly impacts bass response due to the "Boundary Effect." Sound waves radiating backward reflect off the wall and combine with the direct sound heading towards you.
Further Away (≥ 1 Meter): This is often considered ideal in larger, purpose-built studios. It minimizes early, strong reflections from the back wall, leading to potentially clearer bass and a more defined stereo image. However, it takes up a lot of space, which is often impractical or impossible in home studios.
Closer (20-50 cm): This is a common and often necessary compromise in smaller rooms. It saves space, but careful management is needed. Bass frequencies can be either boosted or cancelled at specific frequencies depending on the exact distance and room dimensions.
Very Close (0-20 cm) or Against the Wall: In very small rooms (less than 10 square metres), it can sometimes be less of a problem to place the speakers almost directly against the wall than to place them a short distance away (e.g. 10-15 cm), as this pushes problematic cancellations to higher, potentially less critical frequencies. However, there must be significant absorption directly behind the speakers.
Why Distance Matters: The interaction between the direct sound and the reflected sound from the wall behind the speakers causes phase shifts. At certain frequencies (related to the distance), these waves can add up (causing a bass boost) or cancel each other out (creating a dip or null). Finding the right distance helps minimize these issues.
Practical Steps for Wall Interaction:
Experiment: Use a bass-heavy reference track or a sine wave sweep (you can find these online) and listen carefully as you slightly adjust the speaker distance (move them 10cm forward/backward). Listen for the smoothest, most defined bass response.
Utilize Monitor Settings: Many modern nearfield monitors (like some models from Yamaha, Genelec, Adam Audio) have built-in EQ switches (often labelled "Wall EQ," "Boundary Control," or similar) specifically designed to compensate for placement near walls by gently rolling off the low end. Check your monitor's manual!
3. Taming Reflections with Acoustic Treatment
Once positioning is optimized, acoustic treatment addresses how sound behaves within the room:
Absorption Behind Monitors: Crucially, if your speakers are positioned close to the wall (within ~50cm), placing thick absorbers directly behind them is highly effective. I'm talking about panels at least 10-15 cm thick, ideally made from dense mineral wool (like Rockwool Sonorock / Thermo Hemp insulation board) or high-quality acoustic foam alternatives (like Caruso Iso Bond).
A small air gap (5-10 cm) between the absorber and the wall can further increase its effectiveness at lower frequencies. Avoid thin (2-5cm) foam here – it won't absorb the problematic low-mid and bass frequencies reflecting off the wall; it will only dull the highs, potentially making the problem worse.
First Reflection Points: Sound doesn't just travel directly from speaker to ear. It also bounces off nearby surfaces. The most critical are the "first reflection points" on your side walls and the ceiling between you and the speakers. These reflections arrive slightly later than the direct sound, smearing your stereo image and causing comb filtering (a metallic phasing sound).
How to Find Them: Sit in your listening position. Have a friend slide a mirror along the side wall. Wherever you can see the reflection of a speaker in the mirror, that's a first reflection point. Mark it and place an absorber there. Repeat for the other side wall and the ceiling area above your head (this is often called a "cloud"). Broadband absorbers (10-15cm thick) work well here.
Bass Trapping: Low frequencies tend to build up most strongly in the corners of a room. Placing thick, porous absorbers called "bass traps" in as many vertical corners as possible is essential for controlling bass resonance, reducing boominess, and tightening the low end. These should be as thick as practically possible.
Diffusion (Optional but beneficial): While absorption removes sound energy, diffusion scatters it. Placing diffusers (like QRD or skyline types) on the rear wall behind your listening position can help break up strong reflections without making the room sound too dead, adding a sense of spaciousness.
Leverage Your Furniture: Sofas, bookshelves filled with irregularly shaped books, and heavy curtains can all contribute positively by providing some natural absorption and diffusion, especially in the rear half of the room.
4. Further Considerations
Room Modes: Every room has resonant frequencies ("room modes") determined by its dimensions. Cube-shaped rooms are notoriously problematic as modes pile up at the same frequencies. While complex to treat fully without significant intervention, good speaker placement and bass trapping help mitigate the worst effects.
Measurement: For the most accurate picture of your room's acoustics, using measurement software like Room EQ Wizard (REW) – which is free – along with a calibrated measurement microphone (like the miniDSP UMIK-1) is invaluable. This allows you to see problematic frequencies, measure reverberation time (RT60), and objectively assess the impact of your positioning and treatment choices. Software like Sonarworks SoundID Reference can also measure and create a correction profile.
In Summary: Your Path to Improvement
Start with Positioning: Nail the equilateral triangle, tweeter height, and decoupling.
Experiment with Wall Distance: Listen carefully and use monitor EQs if available.
Treat Behind the Speakers: Use thick absorption if they are close to the wall.
Address First Reflections: Use the mirror trick to place absorbers on side walls and the ceiling cloud.
Control Low End: Add bass traps to corners.
Even implementing just the first few steps, particularly precise positioning and treating the first reflection points, can bring about a substantial improvement in the clarity and reliability of your monitoring environment.
I hope this detailed breakdown provides a clear roadmap for optimizing your home studio acoustics. Taking these steps systematically will undoubtedly lead to more confidence in your mixing and mastering decisions. If any questions pop up as you begin implementing these ideas, feel free to ask!
Best regards,


Lots of valuable information, thank you very much!